
ROD challenge protocol (version 2)
ROD = Roseovarius Oyster Disease
Protocol for an Roseovarius Oyster Disease (Juvenile Oyster Disease) Challenge using Juvenile Oysters Exposed to Diel-cycling Hypoxia and Acidification Pathogen prep and inoculation are details are documented in Version 1 of this protocol from 8/24/23.
Experimental maintenence
- Aim for oyster exposure to CV for at least 24 hours before first water change/feeding
- 1/2 water changes + feeding every day & full water changes on Fridays to avoid weekend water change
- Mortality estimates on MWF
See Google calendar for maintenance schedule
Water change protocol
Notes:
- Start with control group to avoid contamination
- change gloves in between treatment groups (CON/ROD)
- Ethanol gloves and surfaces to avoid contamination, but ensure it is dry before handling juveniles
- Rinse containers and tools with ASW before using them
Materials needed:
- Artificial Seawater (ASW, 28-30ppt)
- Shellfish Diet (SD)
- 70% ETOH in spray bottle
- beakers
- green trays - for transporting cups
- ASW squirt bottles
- clean baskets (if needed)
Procedure:
- Ethanol bench and trays and wipe dry with paper towels.
- Make ASW+SD. Dilute 1.5ml of SD into 3.2L of ASW (for a full water change make up 3 3.2L jars like this)
- Turn off airstones before moving any baskets, to avoid contamination via aerosols
- Remove cups for water change - start with control cups
- Remove basket and place it in it’s treatment-specific red bin.
- Into the “OLD WATER” beaker, pour out either 1/2 the volume or the full volume (depending upon if you’re doing a 1/2 or full water change).
- Attempt to rinse out the built up algae and poop from the basket- if possible. Tilting the basket will help to separate oysters from debris.
- If baskets need to be changed, rinse juveniles into new labeled basket with ASW squirt bottle. The red bins can be used to catch seawater.
- Top off the cup with ASW + SD (measured in the “NEW WATER” beaker) for a total volume of ~650ml.
- Return basket to it’s cup and place back in the incubator with airstone.
- Turn on airstones after all water changes are complete.
- Bleach ROD contaminated seawater for 15 mins and pour out.
- Dry, bleach, and ethanol the benchtop.
- Bleach all glassware, bins, caps, squirt bottles, baskets, etc. following the Puritz Lab bleaching protocol (see below).
- Set glassware and other materials to dry on the drying pad.
- Double check the air bubbles and make sure the incubator is propped open before leaving for the day.
- Check ASW stock, bleach, and sodium thio and text Megan/Caitlin if any needed to be replenished.
- Record water change and any notes in lab notebook (located on Puritz Lab bench).
Bleaching protocol
Materials needed:
- bleach
- sodium thiosulfate
- water
- DI

Procedure:
- Bleach with dilute bleach solution (a quick pour of bleach + water should be good). Be sure to bleach the outside of jars/beakers too with 10% bleach squirt bottle (on Puritz bench).
- Let sit for at least 15mins
- Pour out bleach
- Neutralize remaining bleach with sodium thiosulfate crystals dissolved in water (pour some crystals into each container and add hot water & mix)
- Rinse everything very, very well 5-6x in hot water
- Rinse in DI water
Mortality estimates
Materials needed:
- Magnifying glass or dissecting scope
- Petri dishes
- tweezers or paint brush
- counters
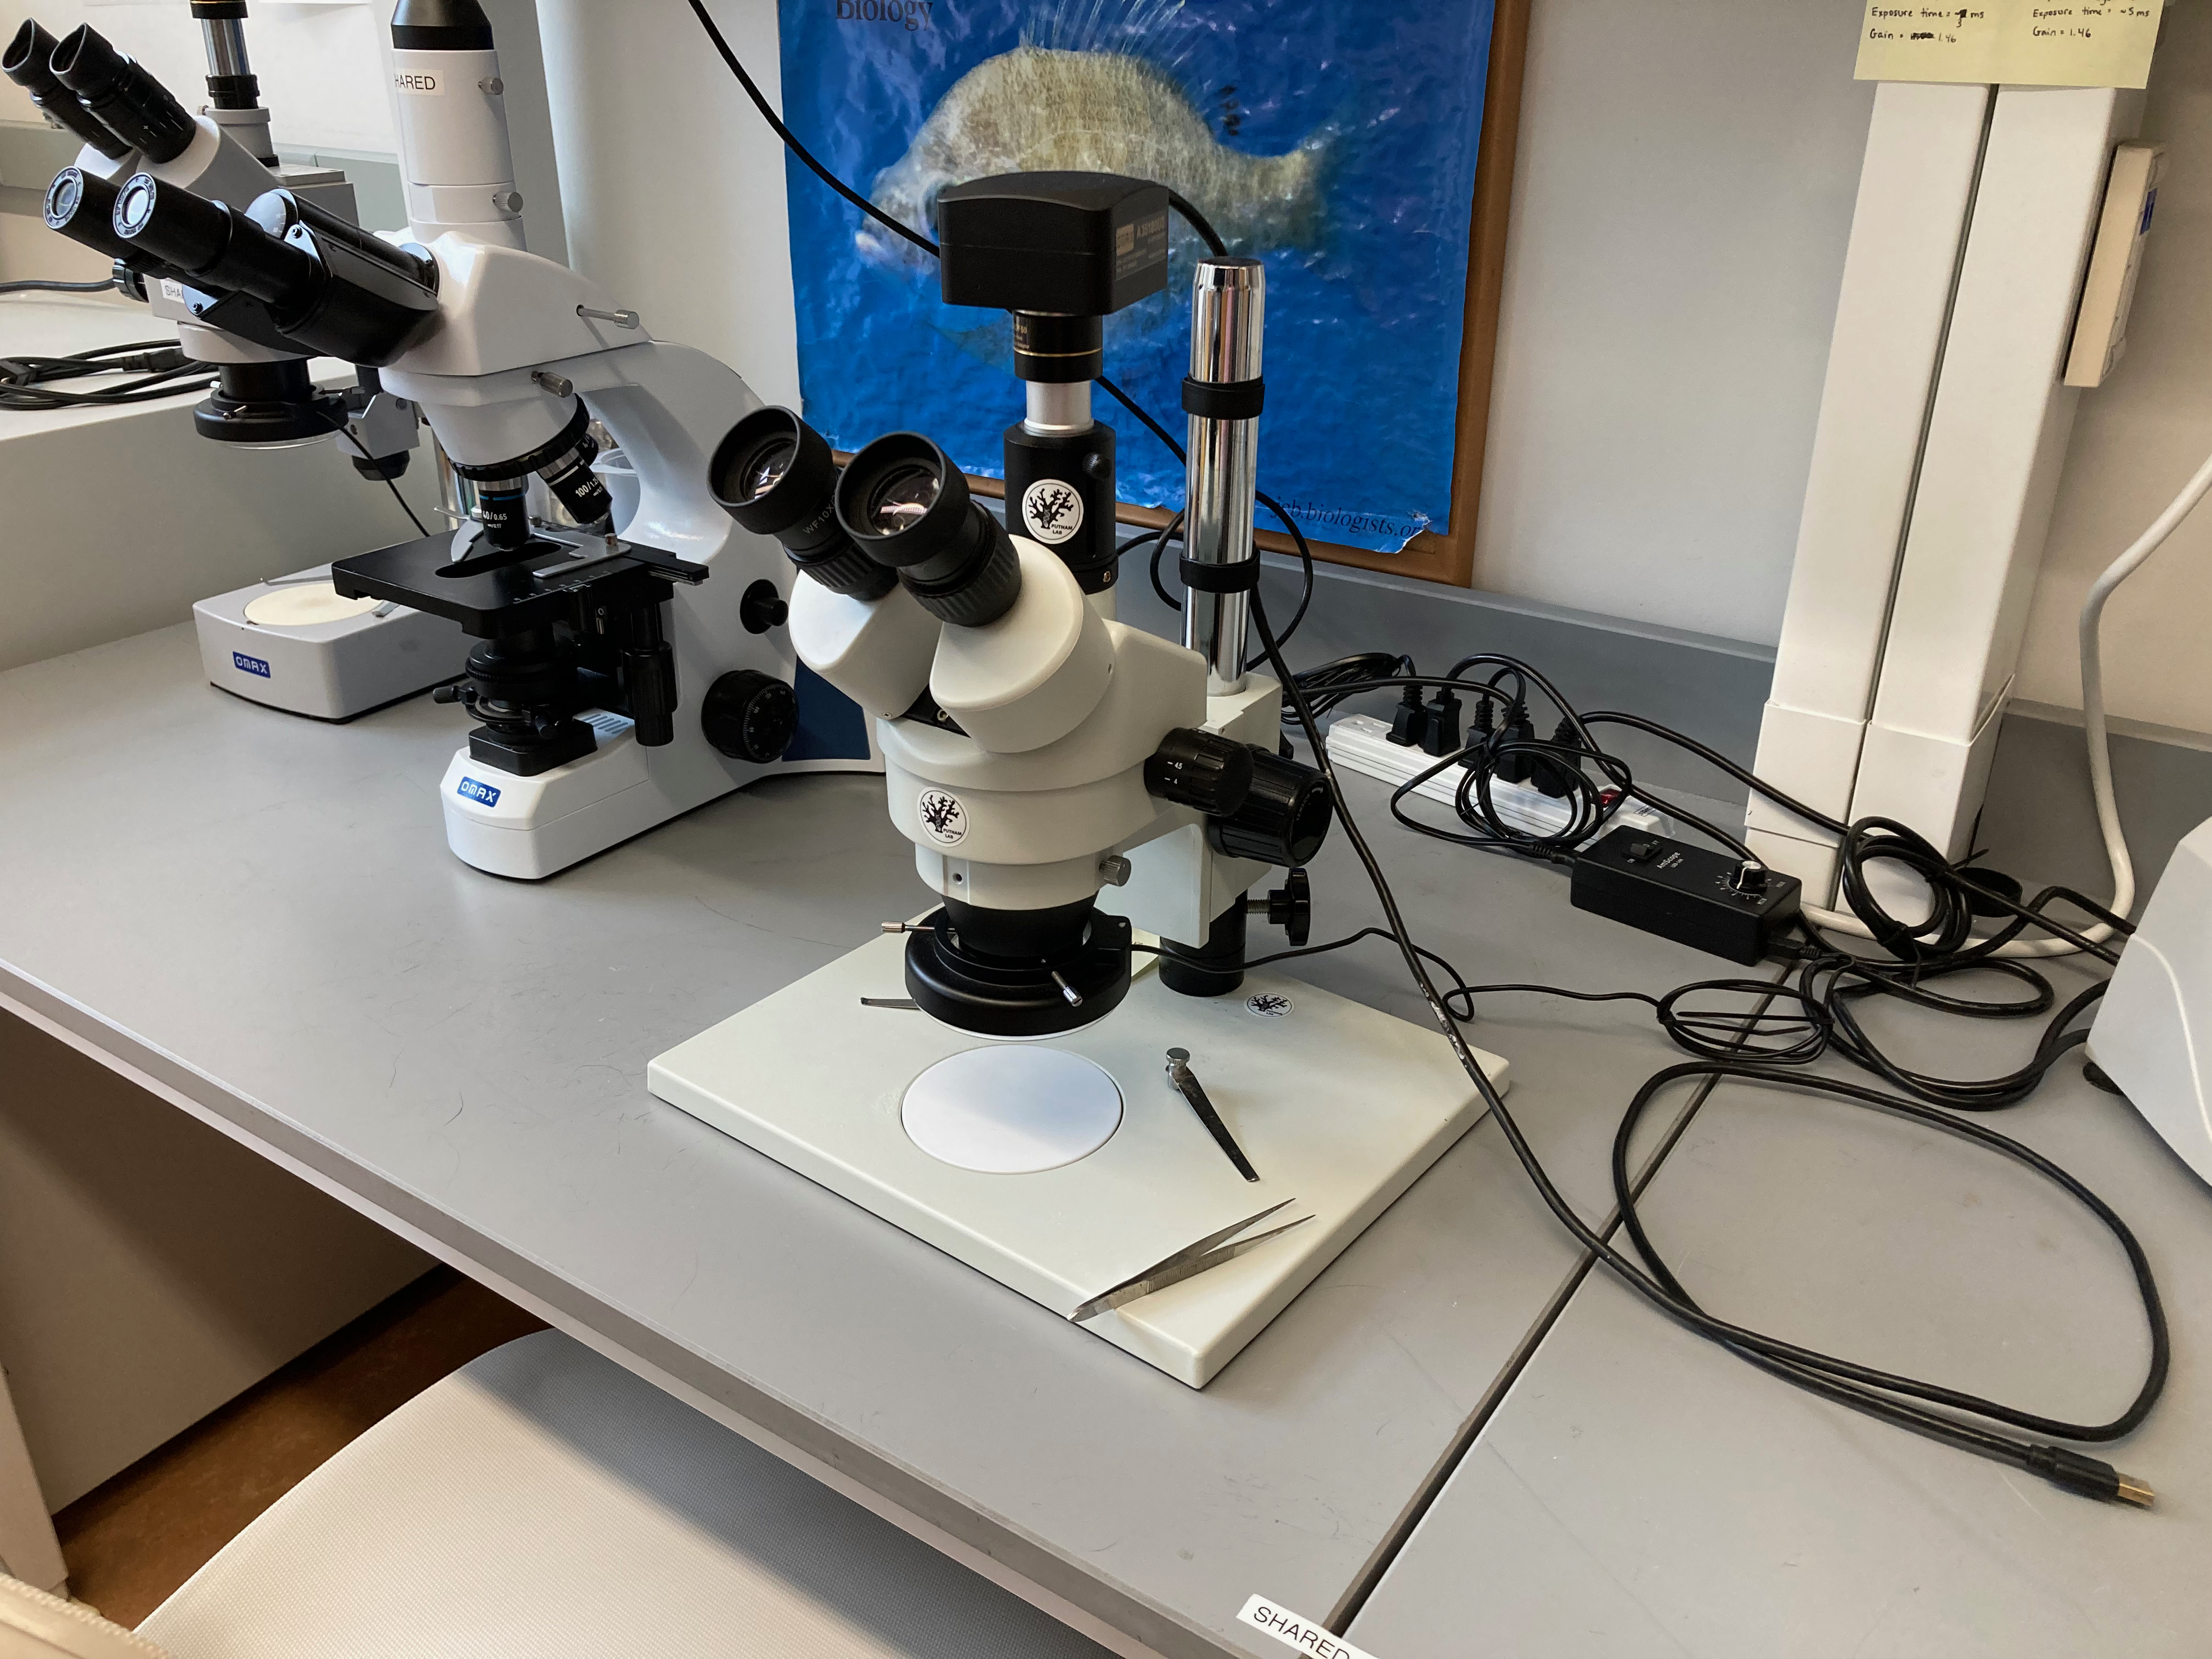
Note: This dissecting scope works really great!
Procedure:
- Transfer all oysters from 1 cup to their treatment-specific dish
- Under magnification, assess whether they are alive or dead keeping count with counters
- living oysters will be closed and have some color to them
- dead oysters can look gapped open, often have no color, and sometimes they float a little
- Set dead oysters to the side and record alive/dead counts in notebook
- Place all of the living oysters back into their basket and place the dead oysters into a petri dish for imaging
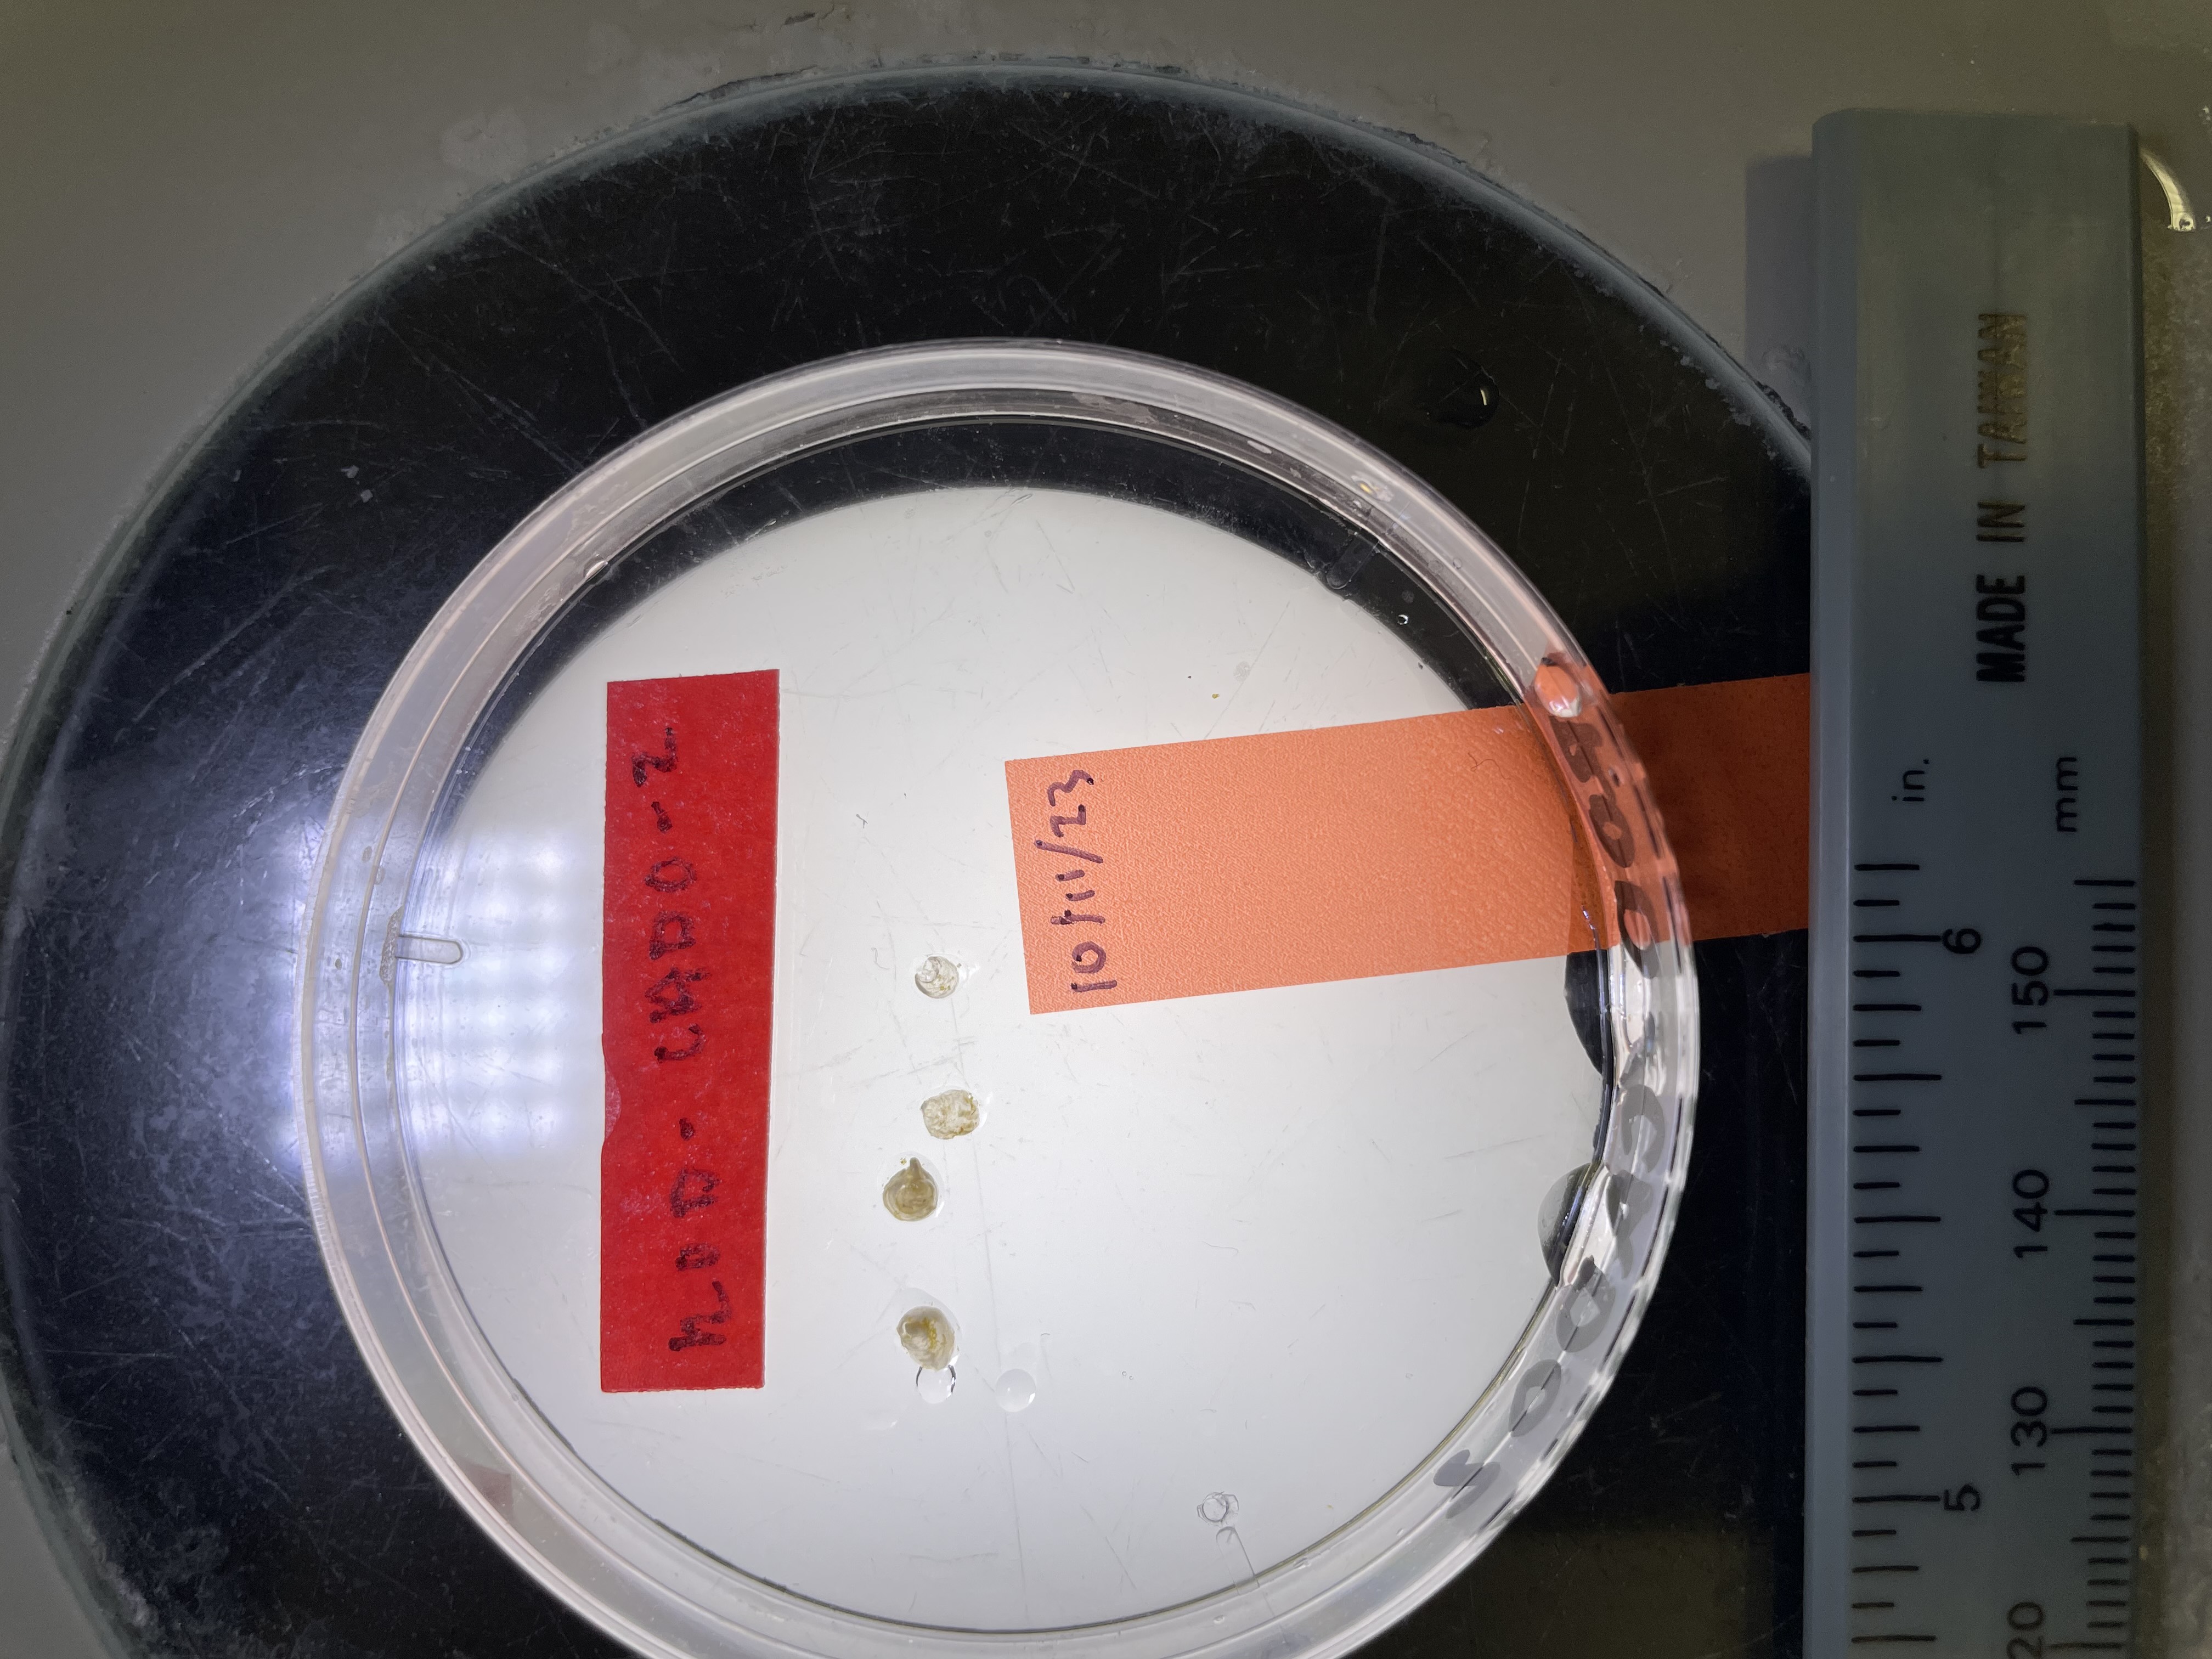
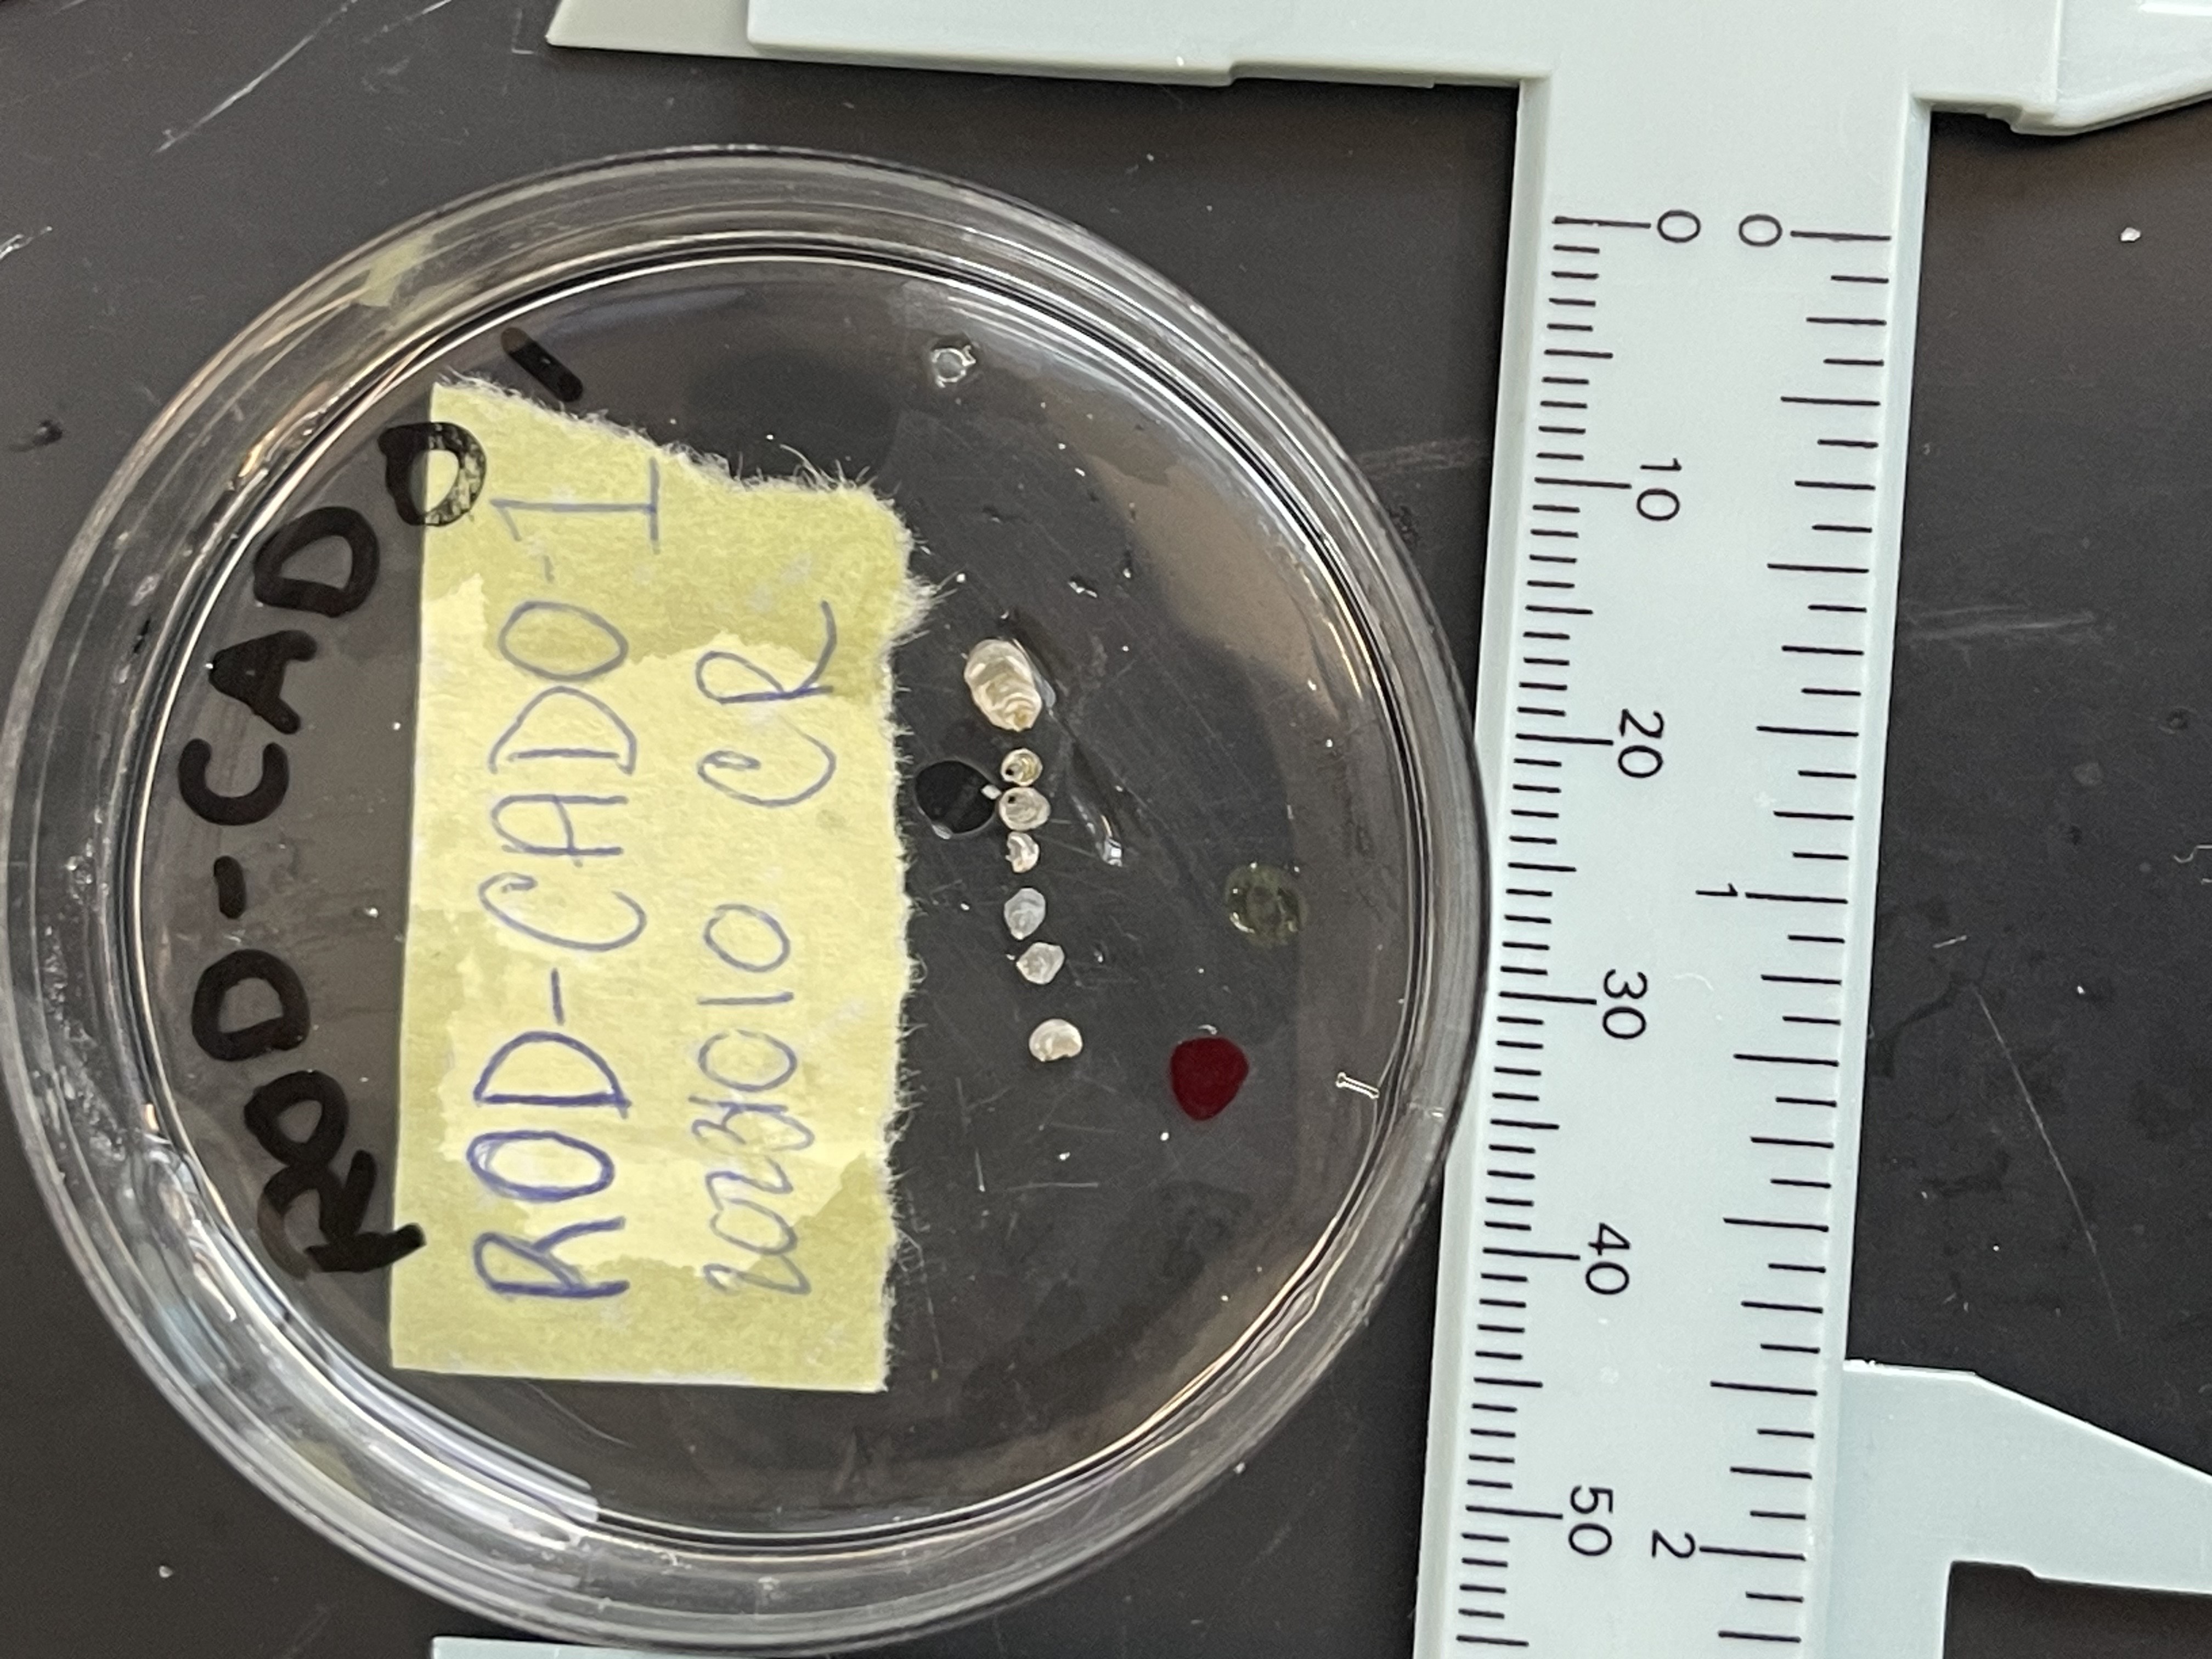
- Imaging the dead oysters.
- Place the dish with dead oysters on a good background with good lighting so you can easy see the margins of the shells
- Add a paper tag with the date, cup ID (ex. ROD-CADO1), and your initals on or near the dish (to help keep track of the dead from each cup)
- Lastly, place a ruler or calipers near the dish for scale and take a good quality image of the dish, tag label and scale ruler
- Save image to google drive folder (“ROD images”)
- Example images:
- Preserve dead oysters/shells in 95% ethanol
- If you see any oyster with tissue still inside, carefully dissect out the tissue and place it in its own labeled tube and fill tube with ethanol
- Place remainder of dead oysters/shells in a 2ml tube and fill tube with ethanol (we should be able to use just 1 tube/replicate for the whole challenge)
- Place tubes in a box in the 4C fridge
- Repeat steps 1-6 for at least 1 cup from each treatment group
- Update Megan with % mortality estimates for the day (we are aiming to get 60-70%)
- Dishes can be wiped out with a kim wipe – do the control dishes first to avoid contamination!
Final mortality counts and sampling
When mortality is around 60-70%, get good final counts of all of the replicates in each treatment group using the above procedure.
Sample remaining, living juveniles from each replicate for genomic sampling.
- Add oyster to tube
- Flash freeze the tube in liquid nitrogen
- Store at -80C
Written on October 19, 2023